Framework Desktop as a Local AI Server: Running 70B Models From My Couch
Setting up a Framework Desktop with AMD Ryzen AI Max+ 395 and 128GB RAM as a headless AI inference server, accessible from every Mac in the house via Ollama and Tailscale.
I wanted a dedicated machine at home that could run large language models locally, fast enough to be useful, accessible from any device on my network. Not a cloud GPU rental. Not a Mac with a model crammed into swap. A quiet box in the corner that serves 70B-parameter models on demand. The Framework Desktop with the AMD Ryzen AI Max+ 395 and 128GB of unified memory turned out to be exactly that. This post covers the hardware choice, the OS and driver setup, the model serving stack, and the networking that ties it all together.
Why the Framework Desktop
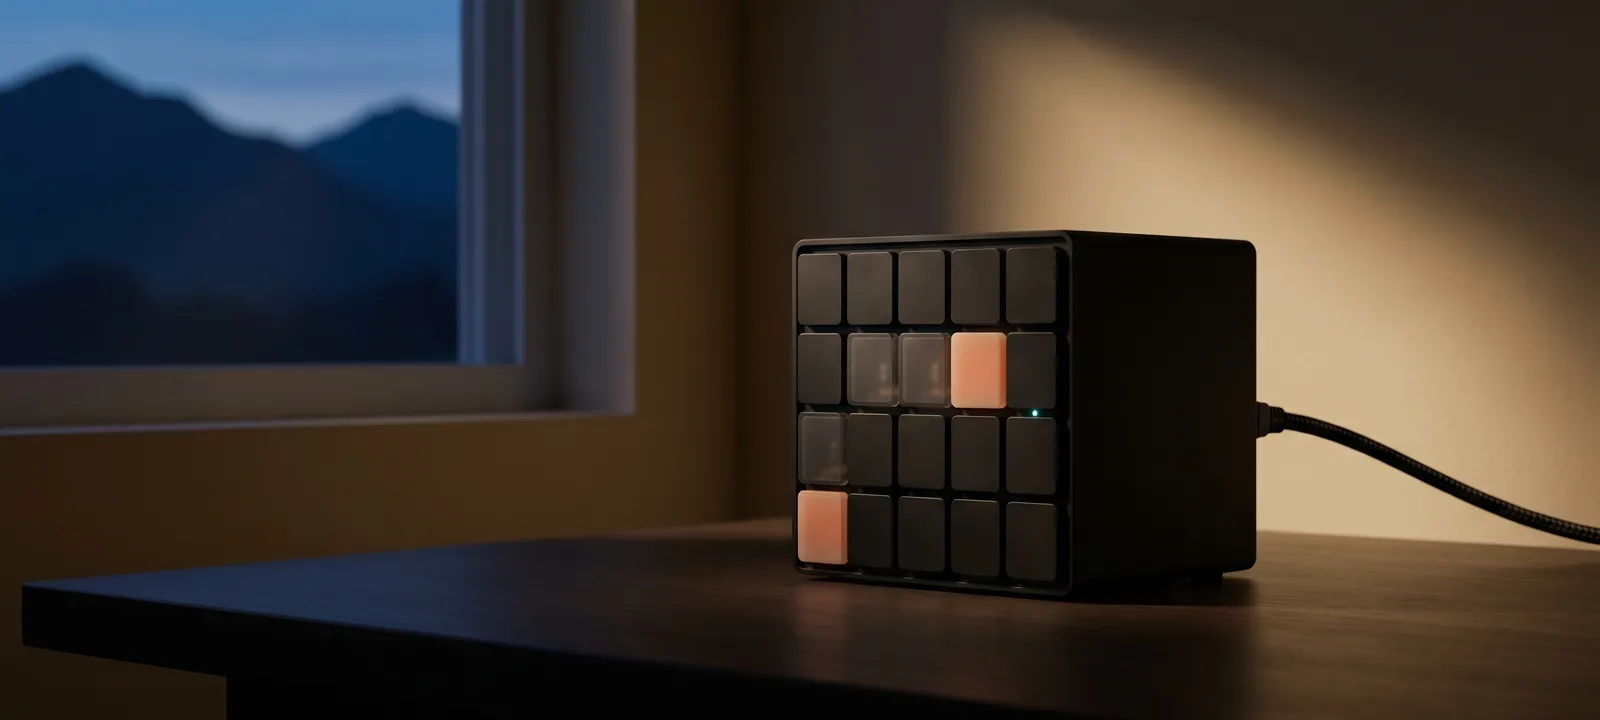
The Ryzen AI Max+ 395 is an unusual chip. It is technically a laptop processor, but Framework put it in a 4.5-litre desktop case with 120W sustained power and proper cooling. The key number is 128GB of LPDDR5x unified memory. Unlike a discrete GPU where you are capped at 24GB of VRAM, the 395 shares system memory with its integrated Radeon 8060S GPU. Set the BIOS allocation right and you get around 96GB of usable VRAM, enough to run a 70B model quantized to Q4 entirely on the GPU with room to spare. A kernel parameter can push that to 120GB if you need it. For context, that is more VRAM than two RTX 4090s, in a box that draws under 140W and makes almost no noise.
Ubuntu 24.04 LTS, with caveats
I went with Ubuntu Server 24.04 LTS. It is the platform AMD officially supports for ROCm, and an LTS release makes sense for a machine that will sit in a corner running unattended. The install was not entirely smooth. The default 24.04 kernel (6.8) does not include a driver for the Framework Desktop’s Realtek RTL8126 5GbE network card. The installer did not see my Ethernet at all. I got around it by using Wi-Fi during the install, then immediately upgrading to the HWE kernel:
sudo apt install --install-recommends linux-generic-hwe-24.04sudo rebootAfter reboot, Ethernet worked. The HWE kernel ships 6.17, which has the RTL8126 driver built in. If you are doing this without Wi-Fi, USB tethering from a phone works too. One other detail: I disabled cloud-init’s network management since this is bare metal, not a cloud VM. A static IP through Netplan keeps things predictable for a server that other machines need to find reliably.
Network configuration
The server runs a static IP on the wired interface. Netplan handles it with a minimal config. Wi-Fi is disabled. Sleep and suspend are masked so the machine stays on around the clock. Firmware updates go through fwupdmgr. It is a server now, and it behaves like one.
Ollama as the model server
Ollama is the serving layer. One curl command to install, one command per model to pull, and you have an OpenAI-compatible API running locally. The GPU picked up the Radeon 8060S automatically, and models load fully onto it. A 32B model sits at 31GB on the GPU with no CPU spillover.
The models currently on the server:
- qwen3:32b, primary general-purpose with strong tool calling for OpenClaw
- gpt-oss:120b, the flagship heavy-lifter at 116.8B parameters (MXFP4), reserved for the hardest problems
- gpt-oss:20b, the smaller OSS sibling for quick reasoning when 120b would be overkill
- qwen3-coder:30b, coding-specialized variant of Qwen 3 for code review and refactors
- deepseek-r1:32b, chain-of-thought reasoning, good for debugging
- gemma4:31b, multimodal with native function calling, fast for lighter tasks
- GLM-4.7-Flash:latest, Zhipu’s 30B MoE flash model, quality at speed
- lfm2:24b, Liquid Foundation Model 2, an alternative MoE architecture to benchmark against the others
By default, Ollama only listens on localhost. To make it reachable from other machines, I created a systemd override:
sudo mkdir -p /etc/systemd/system/ollama.service.dsudo nano /etc/systemd/system/ollama.service.d/override.conf[Service]Environment="OLLAMA_HOST=0.0.0.0"Then a daemon-reload and restart, and Ollama serves on all interfaces.
Tailscale ties it together
I installed Tailscale on the Framework Desktop, on my MacBook Pro (M4 Max), and on the Mac Mini (M4 Pro). Every device gets a stable Tailscale IP, encrypted traffic, and no port forwarding to configure on the router. From the MacBook, I can point Ollama at the Framework’s Tailscale address and run models as if they were local:
OLLAMA_HOST=http://[tailscaleip]:11434 ollama run qwen3:32bTailscale also lets me share the server on the tailnet with other Tailscale users on their own tailnets who want to leverage the LLM.
For convenience I set up shell aliases in my dotfiles to switch between local and remote models without thinking about it. The Mac’s own Ollama handles small models locally. Anything heavy goes to the Framework.
Monitoring and tracking
For monitoring and tracking, I leveraged Claude Code to extend NorskHelsenett/ollama-metrics and add tracking for the Tailscale users leveraging the Tailscale API.
What I would do differently
The Ubuntu installer experience with missing Ethernet was annoying. Next time I would grab the Desktop ISO instead of Server, since the Desktop variant ships the HWE kernel by default, and strip the GUI after install. I would also configure the TTM kernel parameter to push VRAM from 96GB to 120GB from the start, before pulling any large models. And I would benchmark Vulkan versus ROCm early on. Community reports suggest the Vulkan backend in llama.cpp may outperform ROCm on the Strix Halo GPU, which is worth testing before committing to a serving setup.
The result
A quiet, low-power box in the corner that runs 70B-parameter models on the GPU and serves them to every device in the house over Tailscale. Total inference cost per token: electricity. The Macs handle the UI and the orchestration. The Framework Desktop handles the math. When I want to prototype the LLM-assisted integration patterns I have written about, this is where they run. It took an afternoon to set up, and it has not needed attention since.